Onboarding Guide
Welcome to Digit Tally! This guide will walk you through the complete onboarding process to get your business management account set up and ready to use.
Overview
The Digit Tally onboarding process consists of 4 simple steps:
- Business Information - Enter your business details
- Contact Information - Provide your contact details
- Bank Account - Connect your business bank account
- Logo Upload - Add your business logo (optional)
The entire process takes about 5-10 minutes to complete.
The onboarding wizard will guide you through setting up your business profile
Step 1: Business Information
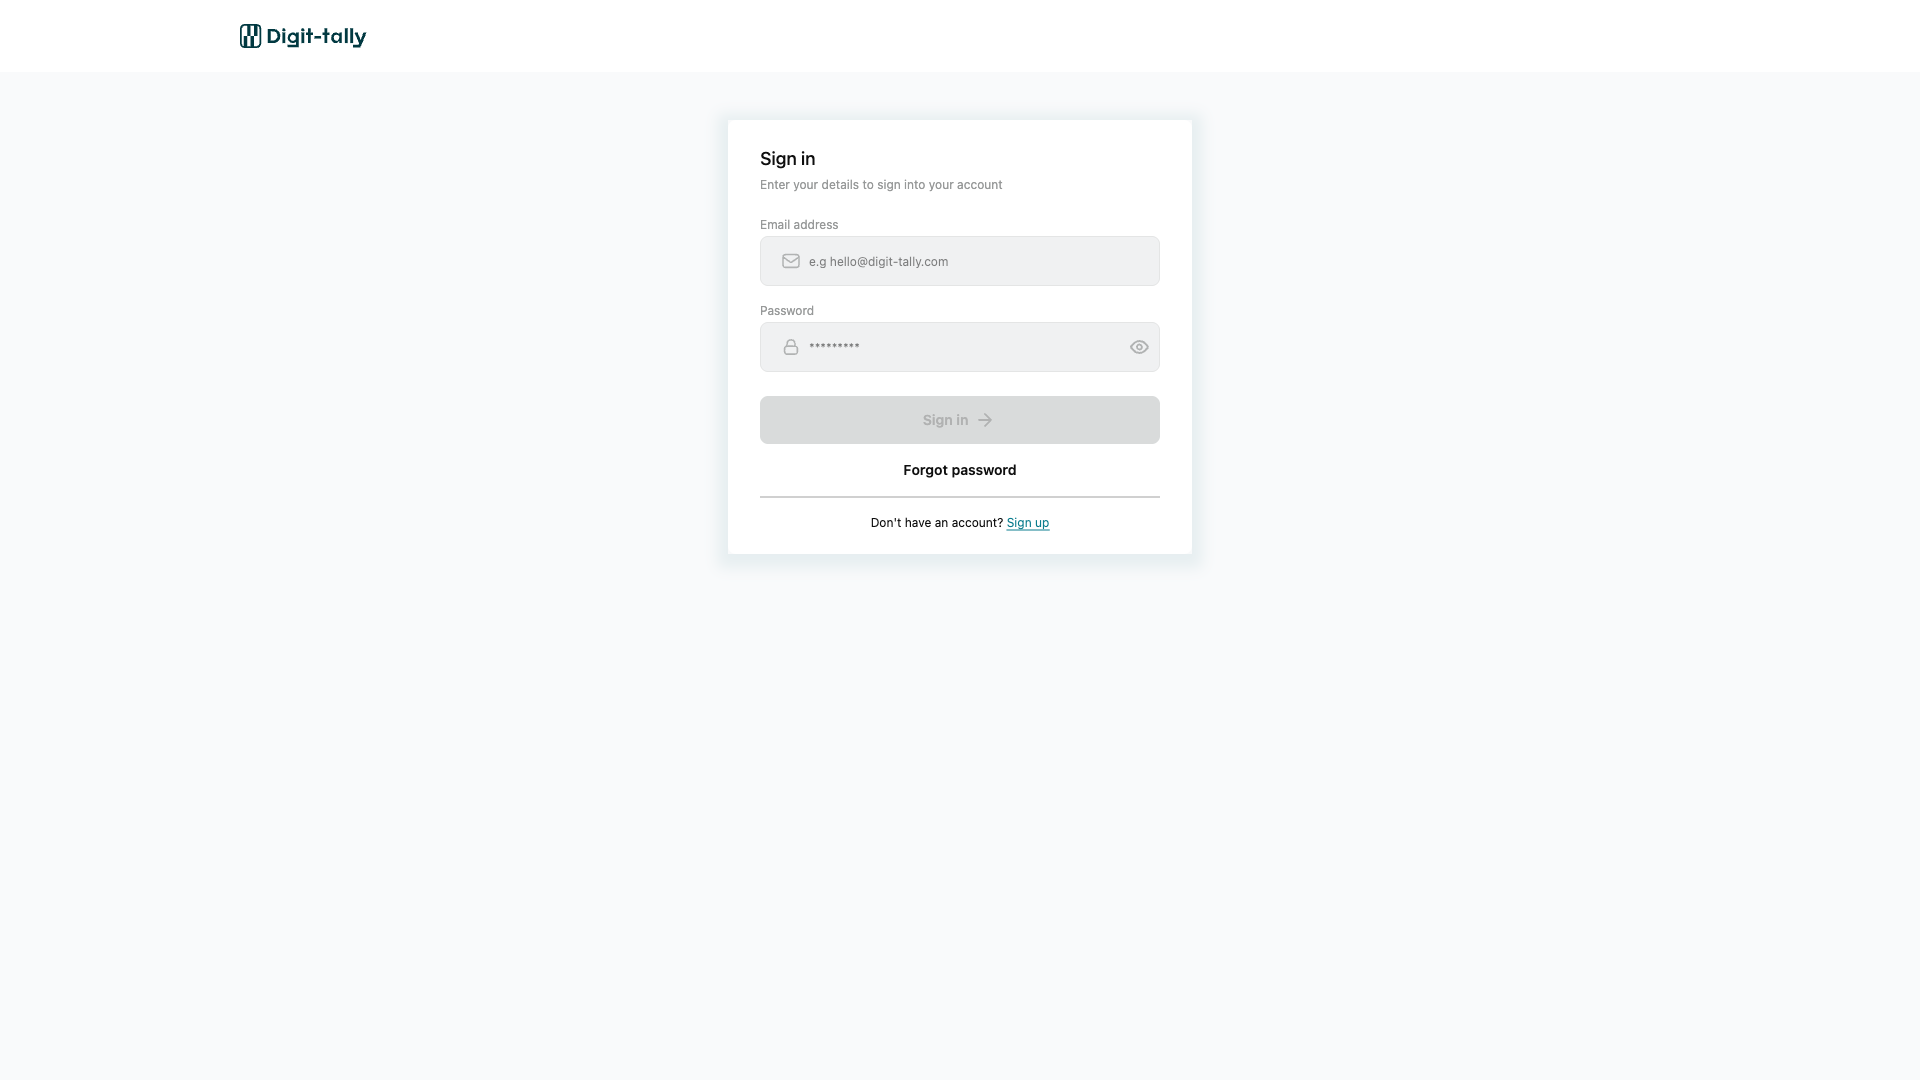
After signing up and verifying your email, you'll be directed to the onboarding wizard.
Required Information
| Field | Description | Example |
|---|---|---|
| Business Name | Your registered business name | ABC Trading Limited |
| Business Type | Type of business entity | Limited Liability Company |
| Industry | Your business sector | Retail & E-commerce |
| Tax Identification Number (TIN) | Your company's TIN from FIRS | 12345678-0001 |
| Registration Number | CAC registration number | RC 123456 |
| Business Address | Physical business location | 123 Lagos Street, Ikeja, Lagos |
Enter your business details as registered with CAC
Steps to Complete
- Navigate to
https://app.digit-tally.ioand log in - Enter your Business Name exactly as registered with CAC
- Select your Business Type from the dropdown menu:
- Sole Proprietorship
- Partnership
- Limited Liability Company
- Public Limited Company
- NGO/Non-Profit
- Choose your Industry from the available options
- Enter your Tax Identification Number (TIN)
- Provide your CAC Registration Number
- Enter your complete Business Address
- Click Continue to proceed to the next step
Ensure your business name matches your official CAC registration documents. This information will appear on all invoices, receipts, and official documents.
Step 2: Contact Information
Provide the contact details for your business that will appear on documents and be used for communications.
Required Information
| Field | Description | Example |
|---|---|---|
| Phone Number | Primary business contact number | +234 801 234 5678 |
| Email Address | Business email (pre-filled from signup) | info@abctrading.com |
| Website | Company website (optional) | www.abctrading.com |
| Contact Person | Name of primary contact | John Adeyemi |
| Contact Position | Role/title of contact person | Managing Director |
Provide accurate contact details for your business communications
Steps to Complete
- Enter your Phone Number in international format (e.g., +234...)
- Verify your Email Address (automatically filled from registration)
- Add your Website URL if applicable (optional)
- Provide the Contact Person name who will be the primary point of contact
- Enter the Contact Position or job title
- Click Continue to proceed
Your email address from registration will be pre-filled. Make sure this email is verified before continuing, as system notifications will be sent here.
Step 3: Bank Account Setup
Connect your business bank account to enable payment tracking and reconciliation features.
Required Information
| Field | Description | Example |
|---|---|---|
| Bank Name | Your business bank | Access Bank |
| Account Number | 10-digit account number | 0123456789 |
| Account Name | Account holder name | ABC Trading Limited |
| Account Type | Type of bank account | Current Account |
| Currency | Account currency | Nigerian Naira (NGN) |
Connect your business bank account for payment tracking
Steps to Complete
- Select your Bank Name from the dropdown list of Nigerian banks:
- Access Bank
- GTBank
- First Bank
- Zenith Bank
- UBA
- And 20+ more banks
- Enter your 10-digit Account Number
- The system will automatically verify and populate the Account Name
- Select your Account Type:
- Savings Account
- Current Account
- Domiciliary Account
- Confirm the Currency (defaults to NGN)
- Click Continue to proceed
The system will verify your account details with your bank. Ensure the account number is correct to avoid verification failures. The account name must match your business name or authorized signatory.
You can add additional bank accounts later from Settings > Connected Accounts. During onboarding, set up your primary business account.
Step 4: Logo Upload
Upload your business logo to personalize invoices, receipts, and other documents.
Logo Requirements
| Specification | Requirement |
|---|---|
| File Format | JPG, PNG, or SVG |
| Maximum Size | 2MB |
| Recommended Dimensions | 500 x 500 pixels (square) or 800 x 400 pixels (rectangular) |
| Background | Transparent background recommended for PNG files |
Upload your business logo to personalize documents
Steps to Complete
- Click Upload Logo or drag and drop your logo file
- Select a logo file from your computer
- Preview your logo in the display area
- Adjust or crop if needed using the built-in editor
- Click Save and Complete to finish onboarding
You can skip logo upload during onboarding and add it later from Settings > Organisation Information. However, having a logo makes your documents look more professional from day one.
After Onboarding
Once you complete all 4 steps, you'll be redirected to your Digit Tally dashboard at https://app.digit-tally.io.
What Happens Next?
- Dashboard Access - You'll see your main dashboard with workspace overview
- Workspace Creation - Your first workspace is automatically created
- App Access - All micro-frontend apps are now accessible:
- Sales App (
https://sales.digit-tally.io) - Suppliers App (
https://suppliers.digit-tally.io) - Accounting App (
https://accounting.digit-tally.io) - Payslip App (
https://payslip.digit-tally.io)
- Sales App (
- Welcome Email - Check your inbox for a welcome email with quick start tips
Recommended Next Steps
- Create Your First Invoice - Start with the Sales App to create customer invoices
- Add Customers - Build your customer database for faster invoicing
- Explore Reports - Check out the Accounting App to see available financial reports
- Set Up 2FA - Enable two-factor authentication for enhanced security
Editing Onboarding Information
You can update any information provided during onboarding by visiting the Settings section:
- Business Information - Settings > Organisation Information
- Contact Details - Settings > Organisation Information
- Bank Accounts - Settings > Connected Accounts
- Business Logo - Settings > Organisation Information
Troubleshooting
Common Issues
Issue: Bank Account Verification Failed
- Solution: Double-check your account number is correct. Ensure the account name matches your business registration. Try again after a few minutes if the bank's verification service is temporarily down.
Issue: Logo Upload Failed
- Solution: Ensure your file is under 2MB and in JPG, PNG, or SVG format. Try compressing the image or converting to PNG format.
Issue: TIN/CAC Number Invalid
- Solution: Verify your TIN with FIRS and CAC registration number with the Corporate Affairs Commission. Remove any spaces or special characters.
Issue: Can't Proceed to Next Step
- Solution: Ensure all required fields (marked with *) are filled correctly. Check for error messages under each field.
Need Help?
If you encounter issues during onboarding:
- Email: support@digit-tally.io
- WhatsApp: +234 XXX XXX XXXX
- Live Chat: Available on the onboarding screen (bottom right)
What's Next?
Now that your account is set up, learn how to navigate the platform:
- Navigation Guide - Learn how to navigate between workspaces and apps
- Dashboard Overview - Understand your main dashboard
- Create Your First Invoice - Start invoicing customers
Visit Settings > Account Information to add additional details like your profile picture, notification preferences, and security settings.